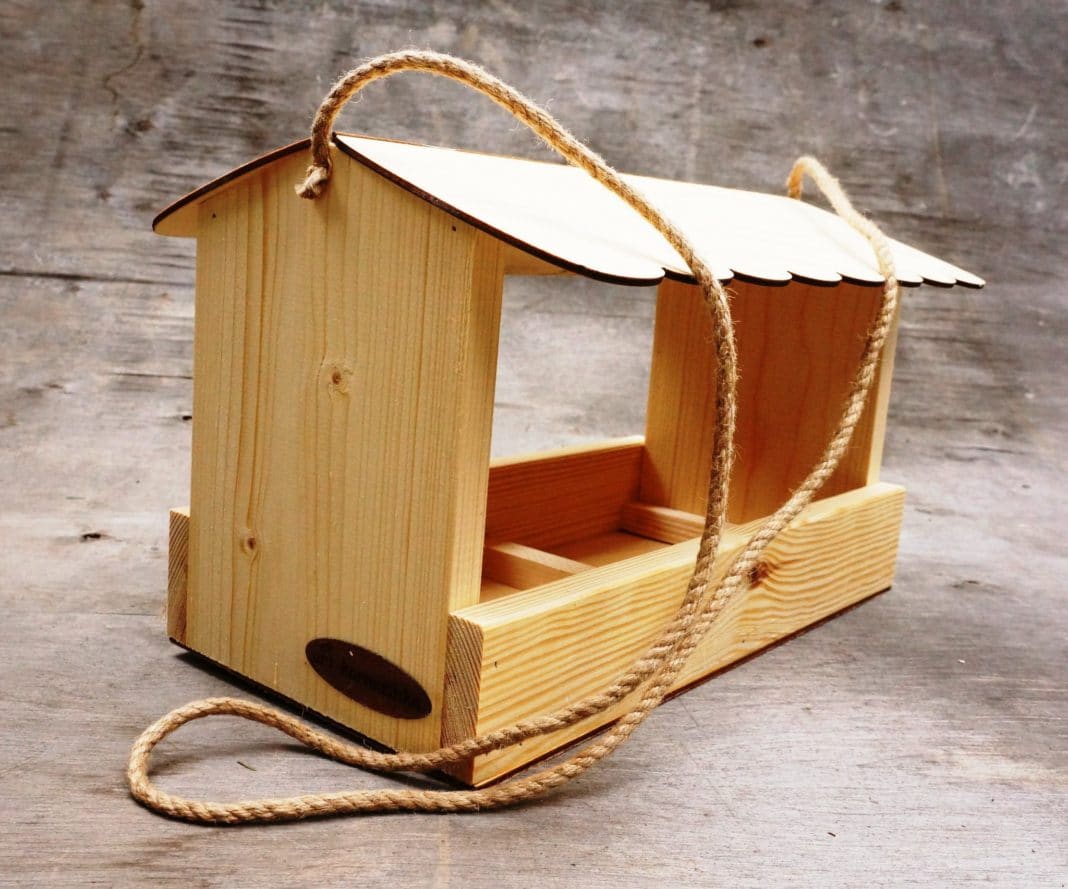
A bunker feeder for birds made from wood or thick plywood can be created for various purposes. It is very convenient to fill a large amount of dry feed once every few days and not constantly monitor its presence. The feeder design allows the use of different types of feed. It can be used for feeding birds and squirrels, but it is also suitable for domestic poultry.
What do you need to prepare for the work?

Tools for working with wood
Working with wood does not require too many materials. The most important thing is to choose high-quality wood, as even such a small structure needs to be strong and neat. For making feeders from wood, thick plywood (1.5-2 cm) or dry boards of the same thickness are very suitable.
For processing wood, you will need the following tools:
- Electric jigsaw or saw;
- Drill with attachments (drill bits, screwdriver);
- Fastening material (preferably wood screws);
- Small furniture hinges.
The bunker can be made not only from wood but also from an ordinary glass jar or plastic bottle. In this case, the design will require a corresponding container of arbitrary size.
[wpmfc_cab_sw]It is best to assemble the parts of the feeder with screws. A hammered nail can split the board and does not hold as firmly.[/wpmfc_cab_sw]
How to make a feeder drawing?
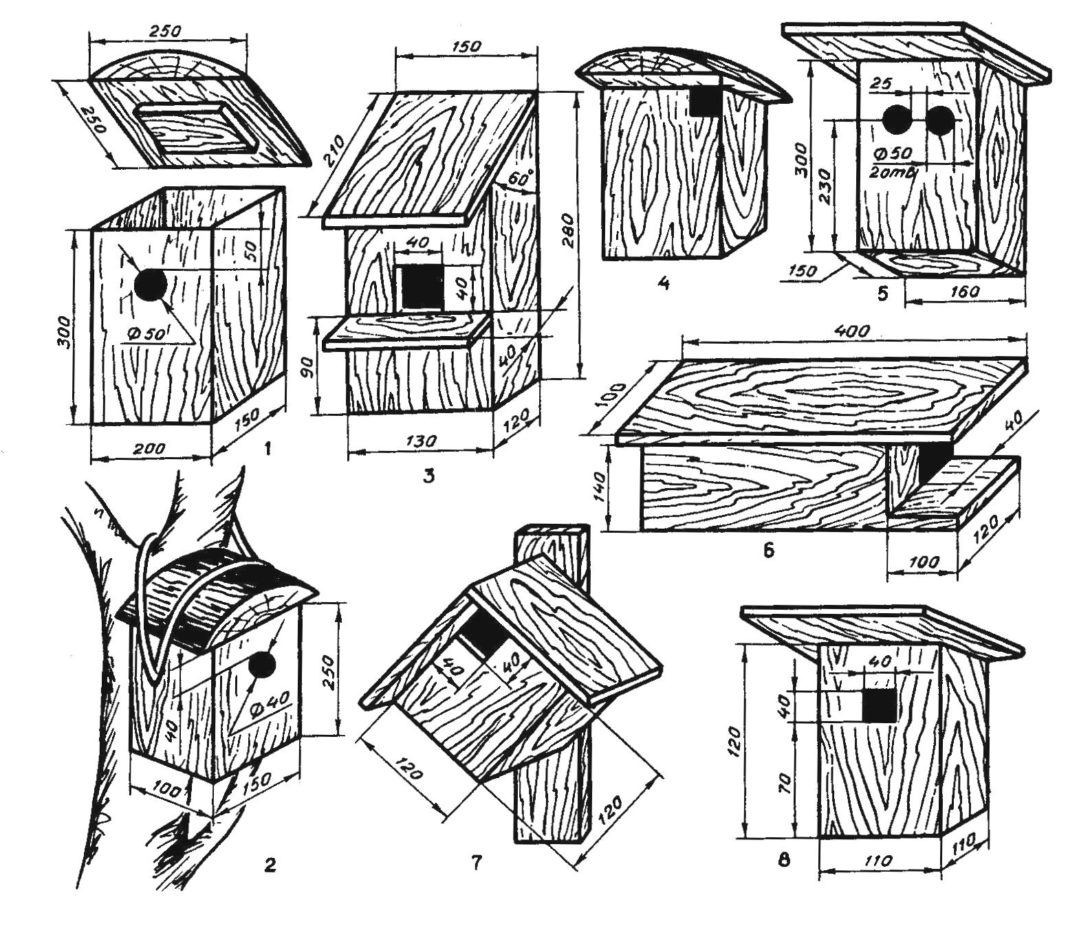
Drawings and sizes of different types of feeders
The tray and bunker can be cut separately from each other. You will need to make a drawing of a trapezoidal part for the bunker side. The width of the narrower lower part should be calculated so that the bird can peck the feed without touching the bunker walls. This is especially important for chickens with developed combs and roosters, which are reluctant to eat from inconvenient feeders.
The sides of the tray are made in the shape of a pentagon, resembling a child’s drawing of a house. The length of the lower side (future bottom of the tray) should be 10-20 cm longer than the narrow part of the trapezoid (bunker side). When assembling, this difference will be divided into 2 and will be the width of the feeder on each side of the grain bunker. This value, like the height of the vertical rim, is chosen arbitrarily and depends on the type of bird. The inclined parts of the part serve to install the grate (so that the bird does not scatter the grain) and strengthen the bunker.
After the sides of the upper and lower parts are drawn to scale, it remains to make rectangles for the front parts of the tray and bunker, as well as for the bottom and lid of these parts. When calculating, it is necessary to be guided by the fact that for feeding 1 adult chicken or duck, a tray length of about 7 cm is needed. The number of birds should be multiplied by this value and divided by 2, as the feeder for chickens will have 2 sides. If you need to make a feeder for tits and squirrels, then the length is chosen arbitrarily. It is necessary to consider that the length of the bunker should be such that it can be tightly inserted between the sides of the tray.
Making the feeder
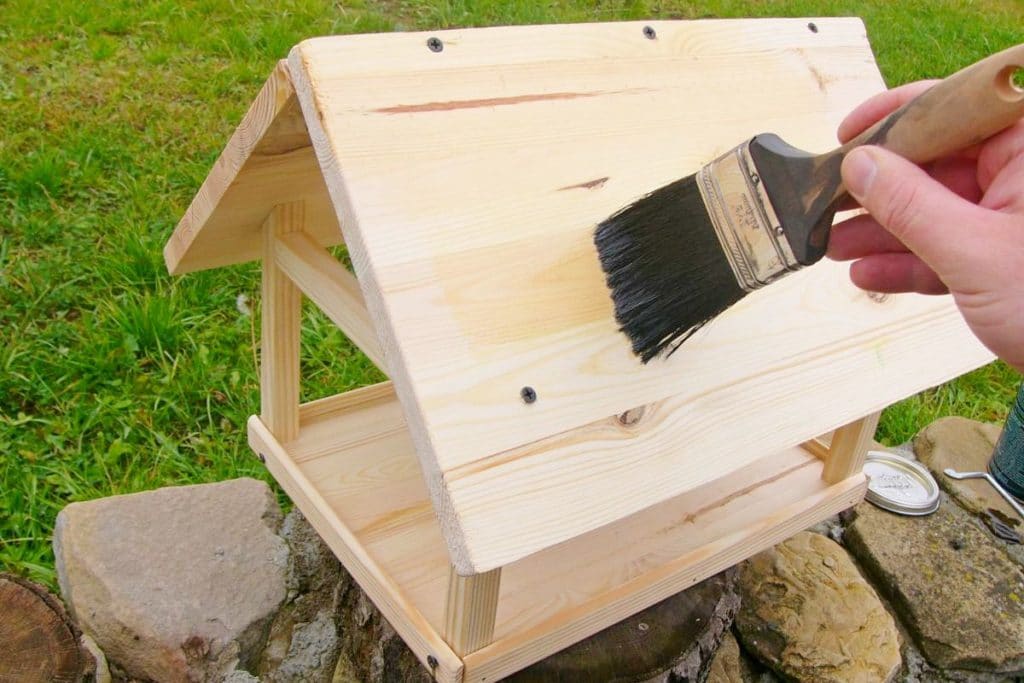
Covering the feeder with varnish
From a board or plywood 2 cm thick, cut 2 side parts for the upper and lower parts of the structure. Cut 2 rim parts and 2 front walls of the bunker. Make rectangles for the bottom of the feeder and the lid of the feed container.
The assembly of the product is carried out in the following order:
- From the edge of the rectangular parts, mark a distance equal to ½ the thickness of the board, make holes along the side edges of the walls and rims. Align the edge of the rim with the cut of the side, screw the screws into the holes. Similarly, connect the other edge with the 2nd side part. Attach the 2nd rim in the same way.
- Make holes for fastening along the perimeter of the tray bottom. Attach the board to the lower cuts of the rims and sides.
- The walls of the grain container are attached in the same way. They will be tilted forward according to the arrangement of the sides of the trapezoidal side. A lid must be attached to the upper wide part of the bunker using 2 furniture hinges and screws. At the bottom, there will be an opening through which the feed will be poured.
It remains to connect the container and the feeder. When inserting the grain container between the sides of the tray, adjust its height so that the feed is poured out when the birds eat it from the lower part of the feeder. Mark the position of the feeder parts, remove the bunker.
In the upper part of the side sides of the tray, make holes for fastening. Insert the bunker again and fix it at the required height, screwing the screws into the prepared holes.
If desired, you can make an adjustable feeder for chickens. For this, 2 clamping screws are required. Holes of the corresponding diameter are drilled for them in the upper part of the tray side. To hold the bunker securely, small recesses must be made under these screws in its side walls. After that, the fastener must be tightly screwed so that the ends of the screws hold the container at the required height.
If the feeder is intended for quails, chickens, or chicks, then a grate with holes corresponding to the size of the bird’s head should be secured above the tray. This will prevent them from scattering the feed with their feet or beak. For squirrels, wild birds, and ducks, a grate is not needed.
Other types of feeders
To make a one-sided hanging feeder with a bunker, you need to draw a rectangle of the desired size for the side part. On one side of it, from the bottom, mark the height of the rim (3-6 cm) and place point A.
From point A, draw an inclined line inside the rectangle. Its length is chosen arbitrarily, according to the size of the bird’s head. Place point B in the required place. The distance AB will be approximately equal to the width of the feeder tray.
Connect point B with the upper corner on the same side. This line will correspond to the location of the front wall of the bunker.
Draw the parts of the rim, the front and back walls of the bunker, the lid, and the bottom of the feeder, based on the sizes of the corresponding parts of the side and the desired length of the product. Cut out the corresponding rectangles and fasten them as indicated for the previous model. Make loops on the back wall for hanging.
Decorative feeder for the garden
You can make a feeder for squirrels or birds according to the principles of bunkers for chickens. But it is better to fantasize and make a beautiful craft. If you can find a piece of thick branch with beautiful bark and wood, make the simplest decorative feeder:
- For the base, you need to cut a circle 5 cm thick. Its edges can be uneven; the decisive factor is only the diameter of the cut – at least 20 cm.
- The upper part can be made from the same even cut, but the feeder will look much more interesting if the log is cut like a two-pitched roof of a house.
- To make a container for grain, you will need a jar with a “twist-off” lid with a volume of 0.5-1 l. It needs to be prepared by cutting a hole in the lid so that only the rim and 5 mm of the upper part remain around the circle.
- In the base of the future feeder, mark the place for installing the previously prepared lid of the container from the jar – in the center. Around the circle, make several recesses into which the feed will be poured. These can be round recesses, which are convenient to make with a drill attachment (5 cm diameter drill), or you can work with a chisel and make rectangular holes. The trays should be arranged so that they go halfway into the circle in the center, which indicates the place for attaching the jar lid.
- In the rim remaining from the lid, make 5-6 small holes for fastening. Install the lid in the previously marked place and screw it to the base. At this stage, you can check how the grain will be poured from the jar. If necessary, the recesses of the trays need to be deepened or widened.
- Make a template from paper (circle) according to the size of the base. Mark 4 cross-shaped points on it for making holes in the bottom and lid of the feeder. Transfer the marks from the template to the wood.
- Make 4 through holes in the upper and lower parts. Thread 2 pieces of strong cord through them. Tie the upper ends together, balancing the structure.
When tying the upper ends of the cord, leave room so that the roof can be lifted, unscrewing the jar. Attach a hook for hanging. Pour the grain mixture for small birds into the jar, screw the container to the attached lid. Turn the feeder over and lower the upper part of the structure onto the bottom of the jar. The grain will be poured into the recesses as the birds eat it.
Crescent feeder
This model is suitable for small wild birds. They are often chased away by larger birds and squirrels. But the light, elegant structure, made in the shape of a crescent, will not allow large birds to sit on it.
For manufacturing, you will need a board or plywood 1.5 cm thick and thin plywood (0.5 cm). The master can independently make a pattern in the shape of a crescent moon. The sizes are arbitrary. From plywood or board 1.5 cm thick, you need to cut 2 identical parts.
Cut thin plywood in the shape of 2 rectangles. Their width is the same and is chosen at your discretion. The lengths are equal to the outer and inner arcs of the crescent.
In the lower part of the inner rectangle, make a small hole. It will serve for the birds to peck the feed, and when the feeder is empty, new grain can be poured through it. Below the hole, it is desirable to attach a flat bar (staff bead, stick) so that the bird is comfortable sitting. In the upper part of the crescent, attach a hook for hanging.
Make holes for fastening along the edges of the rectangles. Screw them with screws to the outer and inner arcs of the side parts. The finished feeder can be hung on a tree branch in the garden.
To make wooden products last longer, they need to be protected from moisture. For this, they are impregnated with linseed oil or mineral oils, covered with feeders with water-repellent varnish, or painted.