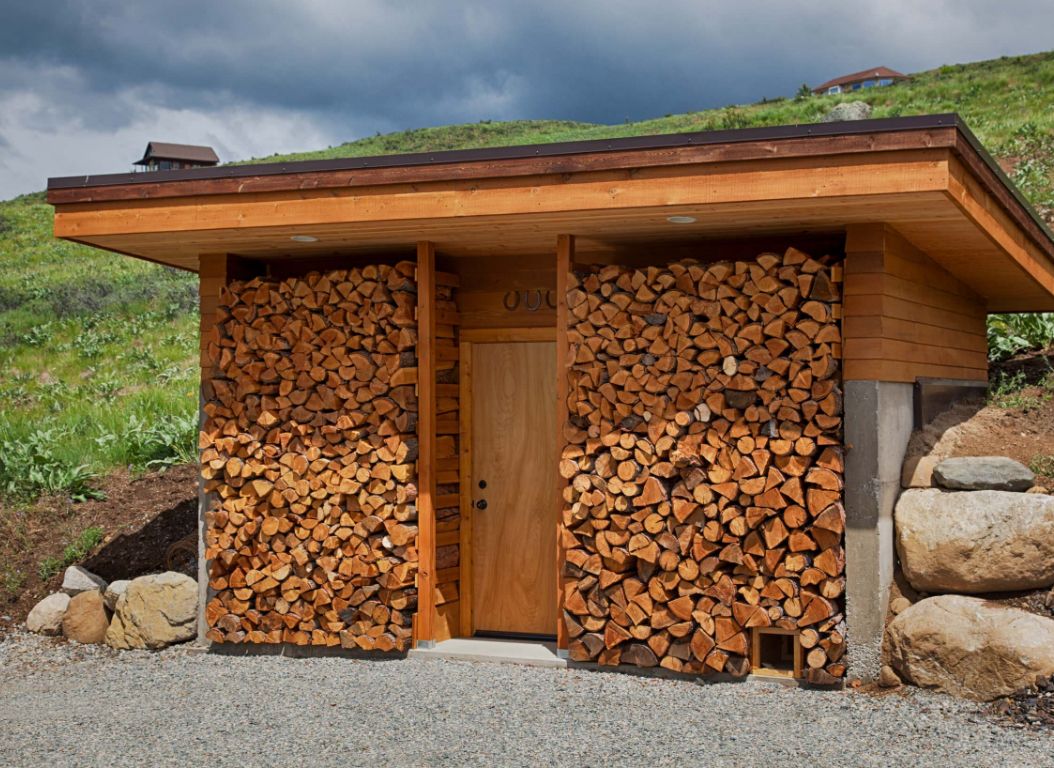
A wood shed is an essential part of a dacha or country house yard. Fuel is necessary for the stove, bonfire, and cooking over an open fire. A solid supply of well-dried firewood should always be at hand. To preserve the quality of the wood, it is important to protect it from moisture. In addition to practical characteristics, the wood shed should blend well with the surrounding environment and match the style of neighboring buildings.
Properly designed and constructed wood sheds last for decades without repair, organically complementing the yard’s interior. Let’s discuss how to build a wood shed with your own hands, including the steps and material requirements for this process.
Preparatory Activities
When planning the arrangement of a place for storing firewood, it is important to remember that this structure is built to last for years, and there should be no secondary buildings in terms of aesthetics in your own yard. Any structure should be made beautiful, strong, and durable.
Before building a wood shed, the following activities should be carried out:
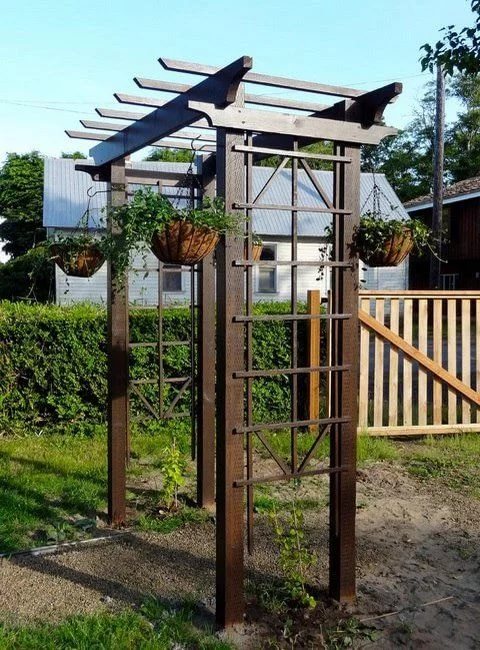
- Determine the location of the object. The correct choice will affect both the appearance of the yard and the quality of the fuel itself. It is better to place sheds on an elevation so that the wood does not get damp from rain and meltwater. Sunlight is essential. Otherwise, mold and mildew will grow in the firewood. Depending on the layout of the site, woodpiles can be made freestanding or as an extension. Usually, these structures are placed in the background.
- Develop a project. The size and configuration of the wood shed are determined based on the need for fuel and the presence of other auxiliary structures on the site. The storage for firewood can be made open or closed with walls, windows, and doors. In any case, access to the constructed structure should always be free.
- Choose the material. The best option is a steel frame, wooden walls, and a roof made of cellular polycarbonate.
- Prepare the site for construction. It is necessary to remove the top layer of soil. A rented bulldozer can help with this. You can order one here: https://um-306.ru/arenda-buldozera-komatsu. Next, the pit should be lined with geotextile fabric. On top of the fabric, fine gravel or screenings should be poured. This method will permanently prevent plants from growing on the floor of the woodpile. For the supports of the structure, holes with a depth of at least 100 cm should be dug.
After the design is completed, the purchase of materials and preparation of the necessary equipment are carried out.
Tools and Materials

To work comfortably and ensure the structure is strong and stable, construction should be carried out during the warm season when the soil is well-dried.
To build a wood shed at the dacha, the following tools and equipment are required:
- Welding machine;
- Electric drill;
- Construction level;
- Handsaw;
- Angle grinder;
- Spade;
- Cordless screwdriver;
- Hammer;
- Paintbrush;
- Square.
To build a wood shed at the dacha with your own hands, the following materials are needed:
- Profile pipe 20 x 40 mm;
- Wooden beam 50 x 50 mm;
- Slat 20 x 200 mm;
- Sandpaper;
- Antiseptic impregnation for wood;
- Linseed oil;
- Oil or acrylic paint;
- Nails, screws, steel corners;
- Gravel, sand, cement;
- Geotextile;
- Bucket for the solution.
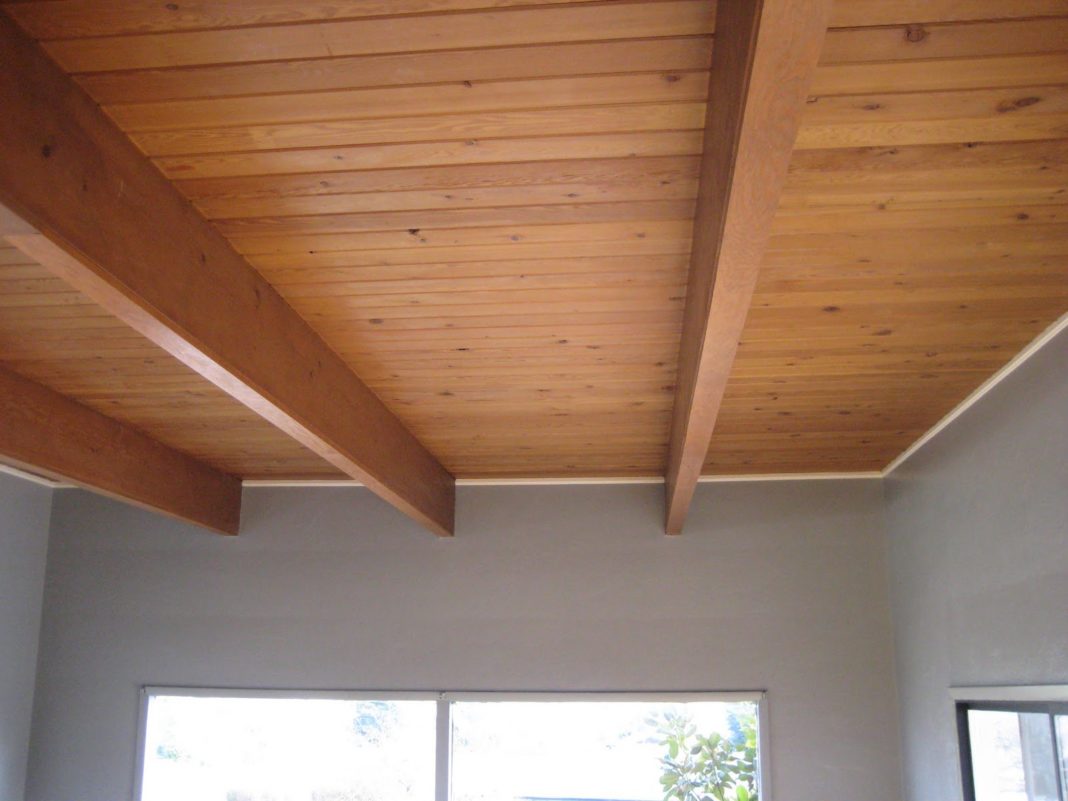
It is necessary to consider the roofing material. The roof can be covered with slate, metal profiled sheeting, or colored polycarbonate. For fastening each of these sheet materials, specific fasteners must be purchased.
Stages of Building a Wood Shed
Before starting work, the wood should be treated with an antiseptic and thoroughly impregnated with linseed oil. The metal should be cleaned of rust and covered with a primer.
The construction of a dacha wood shed is carried out in the following sequence:
- Installation of supports. Steel or wooden supports are placed in pre-dug holes and carefully aligned. For this, props and stretch marks are used. Concrete solution is poured into the hole, or broken brick mixed with sand is filled. Concrete needs at least 5 days to set. If a stone backfill is used, construction can continue immediately after its compaction.
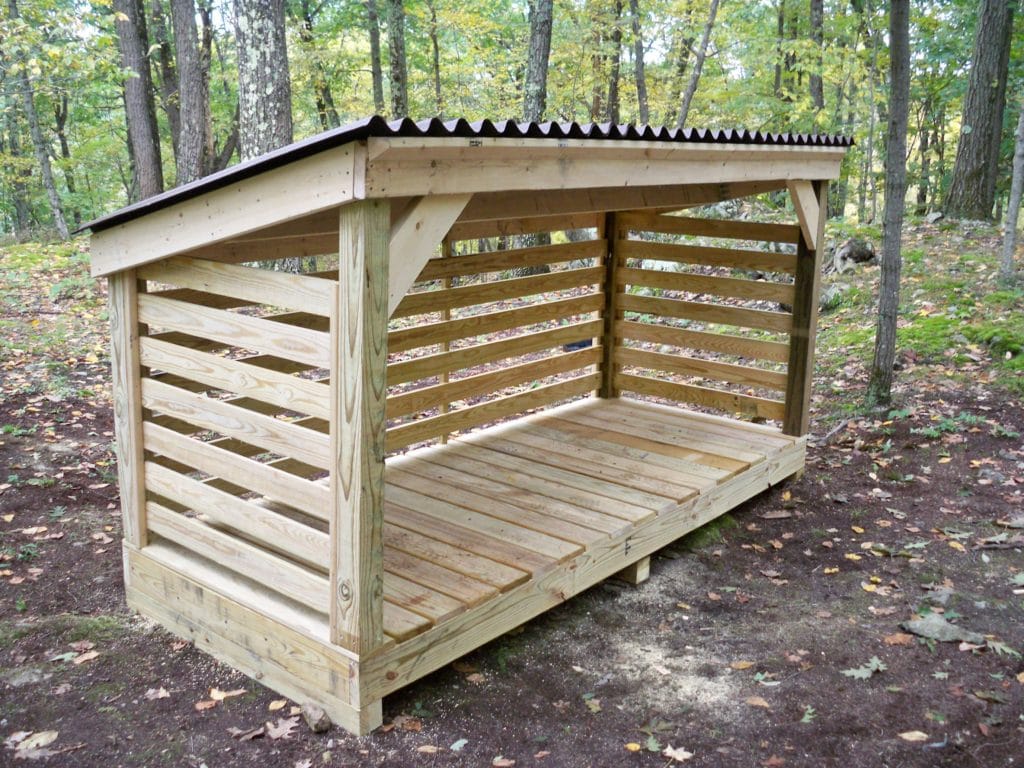
- Manufacturing of the upper and lower binding. These structures will be the basis for the floor and roof of the woodpile. Steel pipes are welded together. The wooden beam is inserted into the slots of the supports and fixed with nails.
- Assembly of the pallet. It is made from a beam, which is nailed to the lower binding at intervals of 10-15 cm. To prevent the pallet from sagging, it is advisable to place bricks covered with roofing material underneath.
- Arrangement of the roof. It is best to make a simple single-pitch structure. The roofing material is laid on a crate made of a beam or steel pipe. To prevent water from leaking, the roof slopes should extend 30-40 cm beyond the edges of the woodpile.
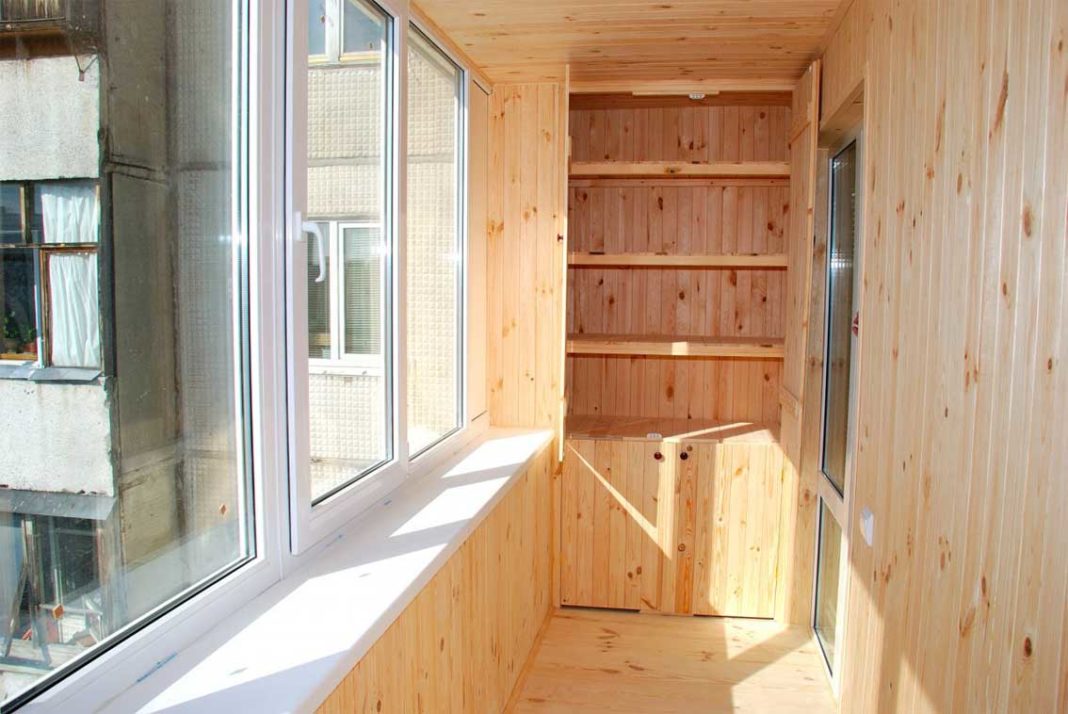
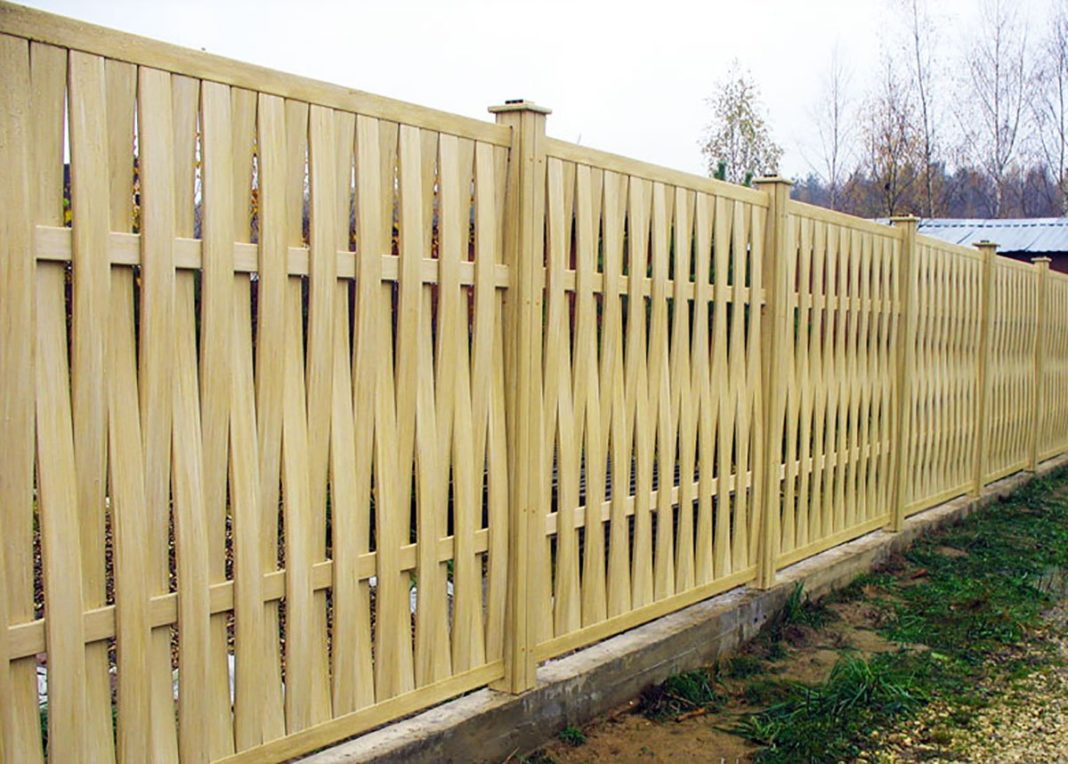
- Cladding the frame with slats, carrying out minor finishing work, installing a window and a door. In a closed woodpile, you can store garden tools and other property.
The final stage of building a wood shed is its decoration and painting. With time, desire, and imagination, it can be turned into a real fairy-tale hut.