Everyone’s wardrobe is filled with items, including multiple pairs of shoes. A DIY wooden shoe rack can help extend the lifespan of your shoes. While you can purchase this item from a specialized store, making it yourself is more interesting and cost-effective. With a bit of creativity, you can create a true masterpiece.
What Does the Item Represent?
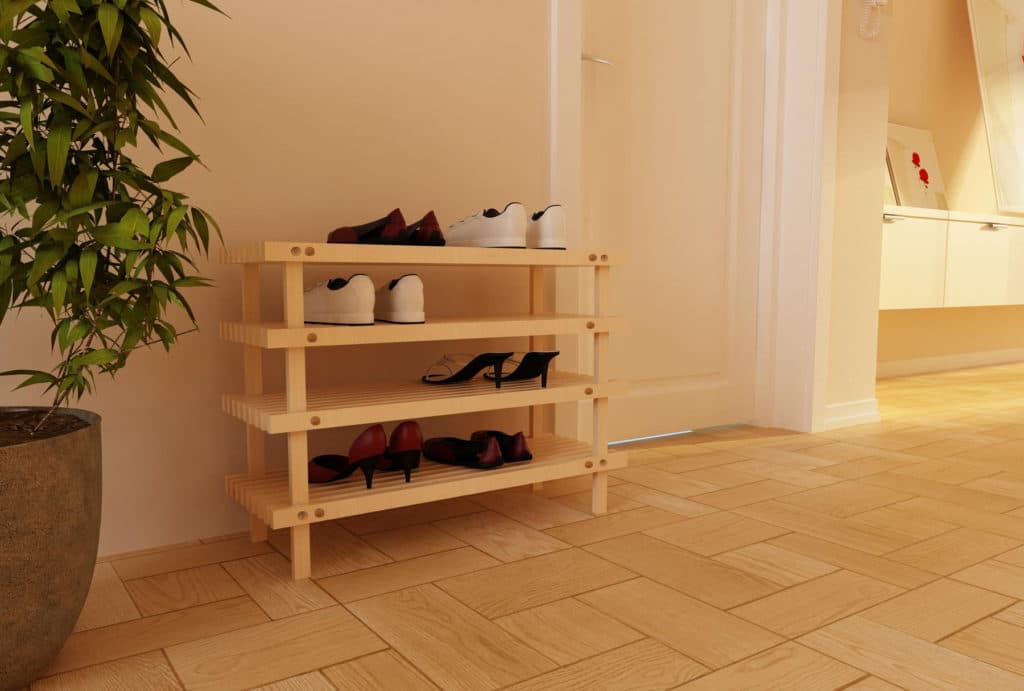
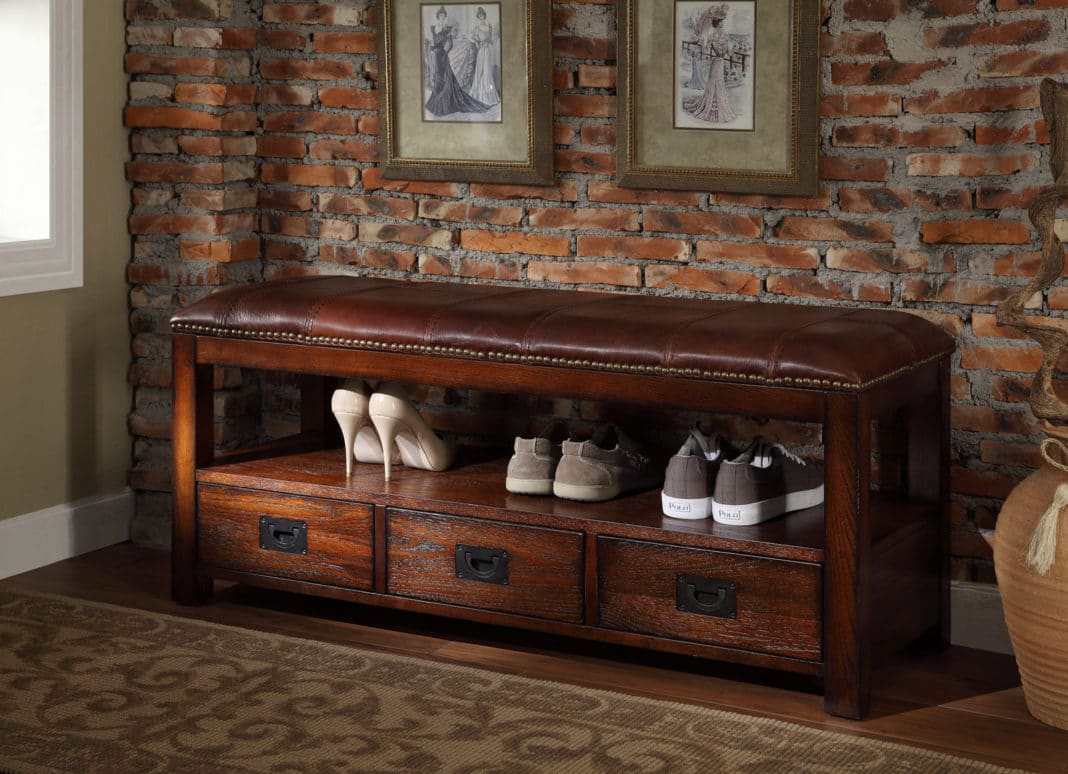
Wooden Shoe Rack
The modern market offers a wide range of shoe storage solutions with different shapes, colors, sizes, and prices. Choosing the right model can be challenging, as not every option will fit your room or hallway. To make the right choice, consider the dimensions of the rack:
- length;
- width;
- height.
Once you’ve determined the size, think about the number of shelves and their height. Inspect all your shoes, as you might need an entire shelving unit. The construction can include a stand, bench, and other decorative elements. There are several types of racks: round, corner, rotating, and rectangular.
The durability and resistance of the shoe rack to external factors depend on the material. Commonly used materials include:
- plywood;
- tubes;
- slats;
- wood;
- laminate;
- MDF;
- metal;
- profile;
- box.
Wood is particularly popular. For wood, you will need to purchase paint or varnish to protect the surface from dirt and moisture. It is recommended to make the bottom shelf for wet shoes. The protective layer will prevent the wood from swelling and deforming, extending the lifespan of the item by several years.
Step-by-Step Instructions

Tools for Woodworking
Creating a shoe rack at home doesn’t require much effort or time. For a standard model, you will need:
- screwdriver;
- electric drill;
- saw;
- pencil;
- ruler;
- glue;
- chisel;
- sandpaper or sanding machine;
- fasteners.
Additionally, choose a paint or varnish that matches the color of the room where the rack will be placed. For the shoe rack, you can use several boards left over from renovations. Two boards should be 1.5 or 2 cm thick and 20 to 35 cm long. The process is simple:
- Use a pencil and ruler to mark the cutting lines. For a rack in the hallway, prepare 2 side pieces with a height of 80 to 90 cm, several cross pieces, and top and bottom pieces at least 60 cm long.
- After marking, cut the boards to the required size. If the cuts are uneven, smooth them with sandpaper or a sanding machine.
- You will need a slat to make 2 sections for each shelf. The length of the parts should match the width of the side pieces.
- Mark the shelf positions on the side pieces. Use a drill to make holes smaller than the diameter of the screws.
- Connect the parts for the shelves with screws. Install the top and bottom pieces with a butt joint or metal corners for reinforcement.
- The result should be a box with bars on the sides. The homemade shoe rack can be placed in the hallway, and then individual shelves can be inserted.
This instruction can be used as a base. If the main material is MDF, you can build a cabinet with shelves and doors. If you don’t have boards, an old cabinet or shelf will work. This will save time and effort, making the process simpler.
Corner Construction
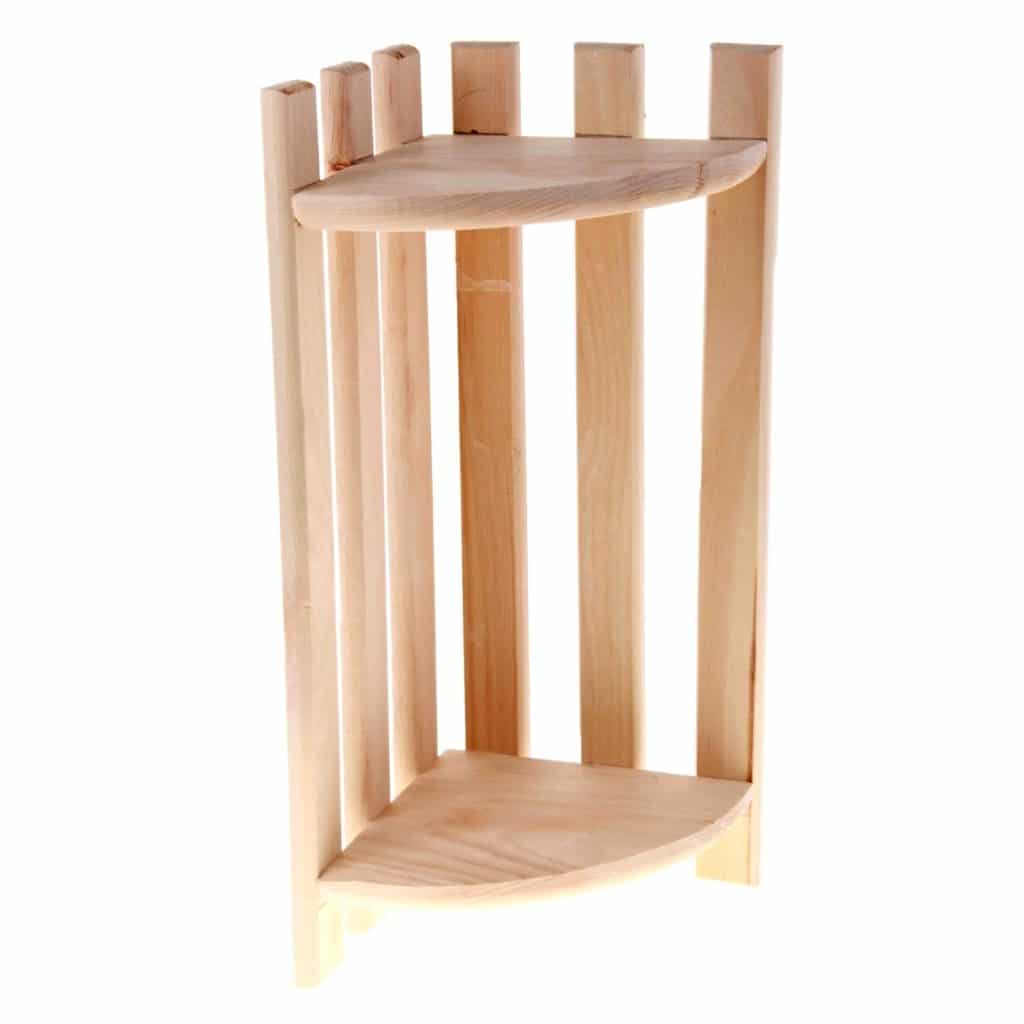
Corner Shoe Rack
Often, homeowners place the shoe rack in a corner to avoid obstructing passageways and save space. In addition to the materials used for the basic model, you will need a couple of MDF sheets, a screwdriver, and a jigsaw. First, draw rectangular parts for the sides and triangular parts for the shelves on the MDF sheet.
Use the jigsaw to cut all the parts and smooth their edges. If you don’t have a jigsaw, you can use a saw and sandpaper. Then, use screws and a drill to assemble the entire structure. Mark the shelf positions on the side pieces and secure all parts with screws.
Finally, proceed to the finishing step – painting. Prepare the paint or varnish in advance and choose a place for the procedure. To prevent the rack from falling, secure its sides to the wall with dowels. This will ensure the rack is securely fixed and won’t fall from accidental movements.
Combining Wood and Metal
Another simple option for creating a shoe rack is to combine wood and metal slats. The thickness of the boards should not exceed 1.5 cm. The metal slats should be cylindrical with a diameter of 2 cm. Stainless steel is ideal as it is not damaged by moisture. Make sure to have the necessary fasteners.
To avoid confusion and mistakes, it is recommended to draw a sketch of the construction on a sheet of paper.
Cut the back walls and side pieces from the wood. Smooth the edges with a sanding machine or sandpaper. Before assembling all parts, make the necessary markings. Use screws or nails as fasteners. The homemade rack is placed on the floor and requires secure attachment to the wall due to its weight.
Making a shoe rack at home will be successful with the right desire and time. Using the basic instructions, you can create an original piece for your interior, which can be placed in the hallway or corridor. A wooden shoe rack is a practical option for storing shoes. The item can be painted in any color or simply varnished. This classic type of construction will fit into any interior.